The optimal growth of children is enhanced by playing with sand in a sandbox. Encircling the edges is intended for this purpose when using a sandbox.
Build Instructions
Organize and categorize all of your materials.
Build the sandbox legs: use two 2x4x6 ½” pieces to connect two 2x4x12″ pieces as shown to the right. Use two 2 ½” screws at each joint and make sure all the sides are flush and square. Build fourteen (14) leg assemblies. 
Build the inside border: use 2 ½” screws to attach the 2x6x126 ½” and the 2x6x75 ½” pieces, making sure to run the 126 ½” pieces LONG, past the 75 ½” pieces, to construct a rectangle as shown below. Build two (2) squares of this size per sandbox and stack them on top of each other, as shown. 

Then build the outside border: use 2 ½” screws to attach the 2x6x142″ and 2x6x91″ pieces, making sure to run the 142″ piece LONG, past the 91″. Build two (2) squares at this size around the inside frame that has already been built, as shown. 
Then, fit the 28 leg assemblies between the inside border and the outside border. Space the legs exactly as shown below: set the legs flush with the inside corner and make sure to attach the outside border 9 ½” clearance from the 2x4x6 ½” brace, otherwise the seats won’t fit. Use 2 ½” screws to attach the borders (inside and outside) to the 2x4x12″ legs: set the top of the borders flush with the top of the legs and leave a ½” gap between the 1st and 2nd courses, which should leave a ¾” gap to the ground at the bottom. 

Measure the diagonals of the sandbox to make sure it is square before continuing. Wiggle the corners of the sandbox if one diagonal is considerable longer than the other until the outside-corner-to-outside-corner measurements are within ½” of each other. 
Measure the diagonals of the sandbox to make sure it is square before continuing. Wiggle the corners of the sandbox if one diagonal is considerable longer than the other until the outside-corner-to-outside-corner measurements are within ½” of each other. 
Ensure that the sand in the sandbox is filled up to the top level and the 2-3 level below it. Then, line the inside of the box with landscape fabric, making sure to roll it up against the four sides of the 2x6s border.
More enhancement projects
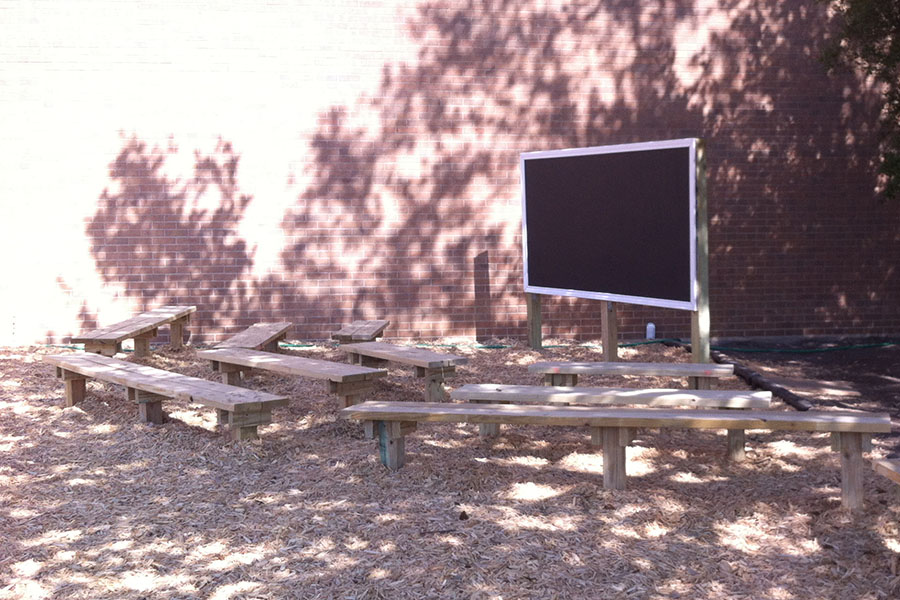
How to build an outdoor classroom
Encouraging organizations and schools to take advantage of the entire outdoor area and playspace is a great way to create an outdoor classroom, promoting a learning environment.
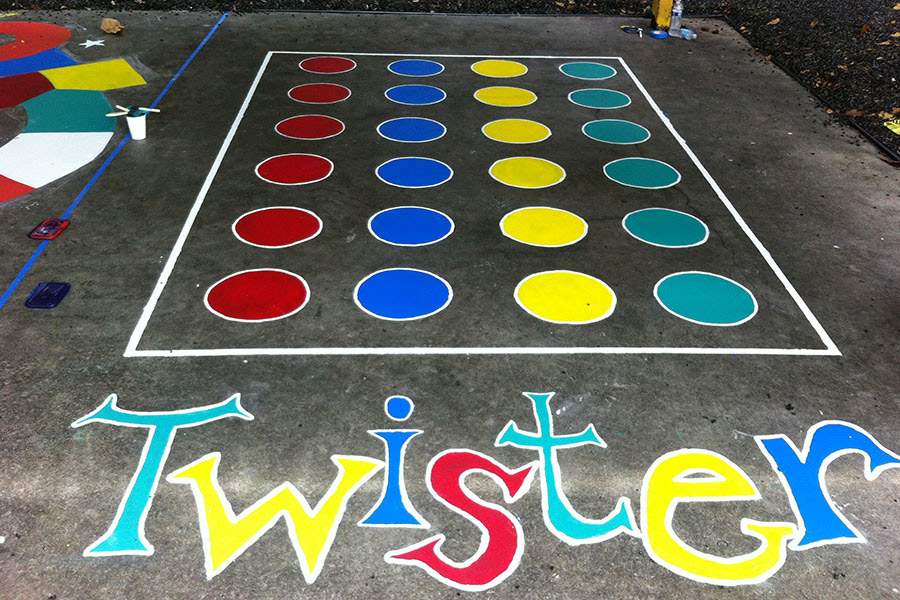
How to paint asphalt games
Children can play safely here on a bare asphalt or cement surface. You can think back to your own childhood and come up with games to play, or you can use the suggested patterns attached here to add more fun to the playground! Brightly painted games on an asphalt or cement surface are also welcome.
Preparation Instructions
Categorize all materials into stacks based on similar items to ensure that you have the necessary materials to finish the project.
Take [4] of the 2x6x12′ boards. Cut [1] 142″ length from each piece, for a total of [4] 2x6x142″ pieces. 
Take [4] of the remaining 2x6x12′ pieces of lumber. Cut [1] 126 ½” length from each piece for a total of [4] 2x6x126 ½” pieces. 
Take [4] 2x6x8′ boards. Cut [1] 75 ½” length from each piece, for a total of [4] 2x6x75 ½” pieces. 
Take [4] 2x6x8′ boards. Cut [1] 91″ length from each piece, for a total of [4] 2x6x91″ pieces. 
Take [4] of the 2x4x8′ boards. Cut [8] 12″ pieces from each, for a total of [32] 2x4x12″ pieces. You will only need [28] of them. 
Take [2] 2x4x8′ pieces of lumber. Cut [14] 6 ½” lengths from each piece for a total of [28] 2x4x6 ½” pieces 
Take [2] of the remaining 2x6x12′ boards. Cut each down to 132 ½” pieces, for a total of [2] 2x6x132 ½” pieces. 
Take the last [2] 2x6x8′ boards. Cut each down to 84 ½” lengths, for a total of [2] 2x6x84 ½” pieces. 
Angled Cuts:.
Materials & Tools
| Materials | Quantity |
|---|---|
| 2x4x8′ boards | 6 |
| 2x6x8′ boards | 12 |
| 2x6x12′ boards | 12 |
| 2 ½” deck screws | 5lbs |
| Play sand | 110 cubic feet |
| Tools needed |
|---|
| Miter Saw |
| Pencil |
| Tape measure |
| Safety glasses |
| Carpenter’s square |
| Drill |
| Screwdriver bit |
| Sandpaper |
| Landscape fabric |
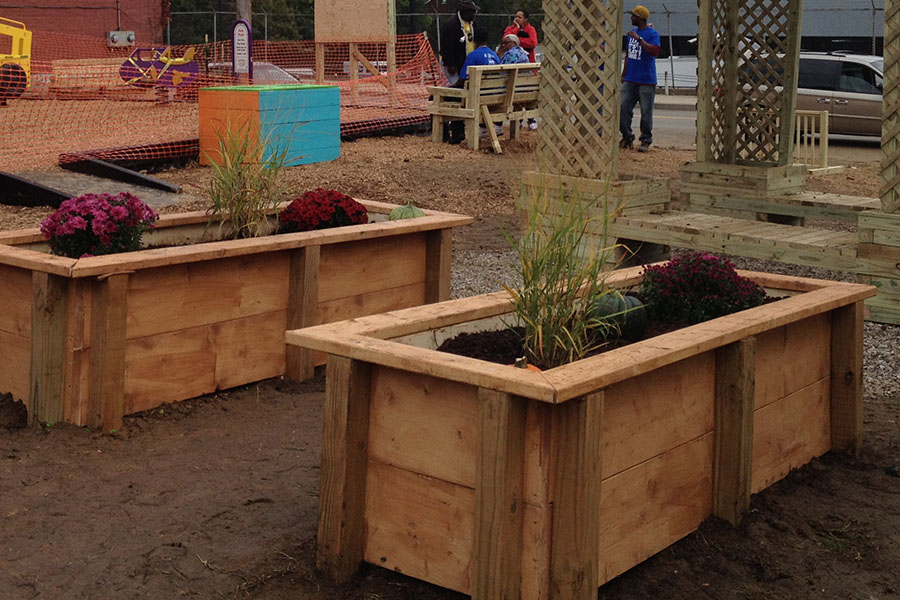
How to build a raised planter
Adding garden beds to your playspace gives children the opportunity to learn more about where food comes from and how to grow edible plants, which can greatly enhance the sensory elements of your space!